Lorex NVR and Camera Setup: A Practical Guide
Getting a surveillance system right comes down to three things: where you mount the cameras, how you run the cable, and how much recording capacity you have. This guide walks through the practical decisions behind a Lorex NVR setup, from choosing the right recorder to picking mounting hardware, cabling, and storage that matches your property.
Understanding Your Lorex System
Lorex systems broadly fall into three categories, and knowing which one you own shapes everything else in the installation.
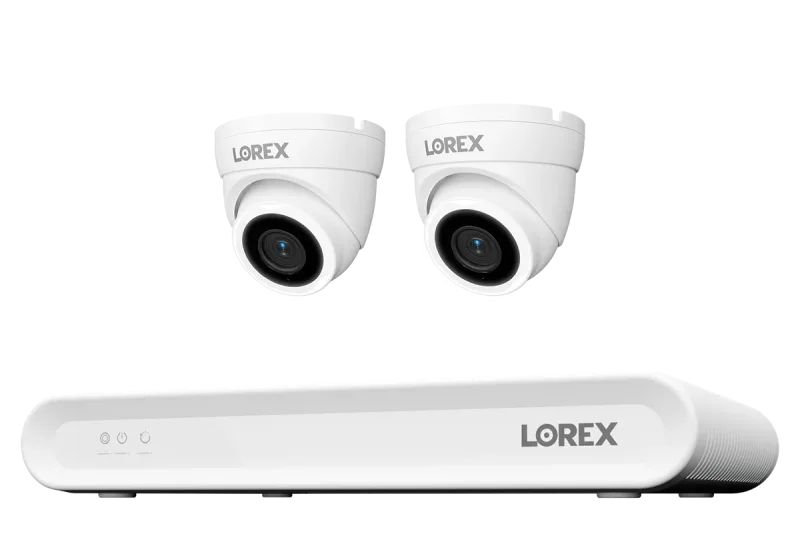
- Wired NVR systems use a network video recorder and IP cameras connected over Ethernet. Power and data travel on a single cable, which simplifies long runs.
- Fusion systems combine wired channels with Wi-Fi channels on one recorder, so you can add a wireless camera in a spot where running cable isn't practical.
- Standalone Wi-Fi cameras and doorbells connect directly to your home network and record to local storage or a microSD card.
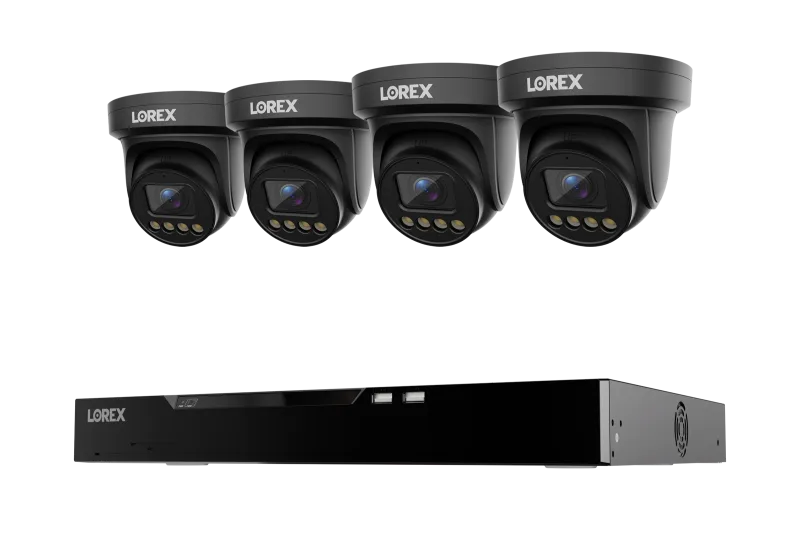
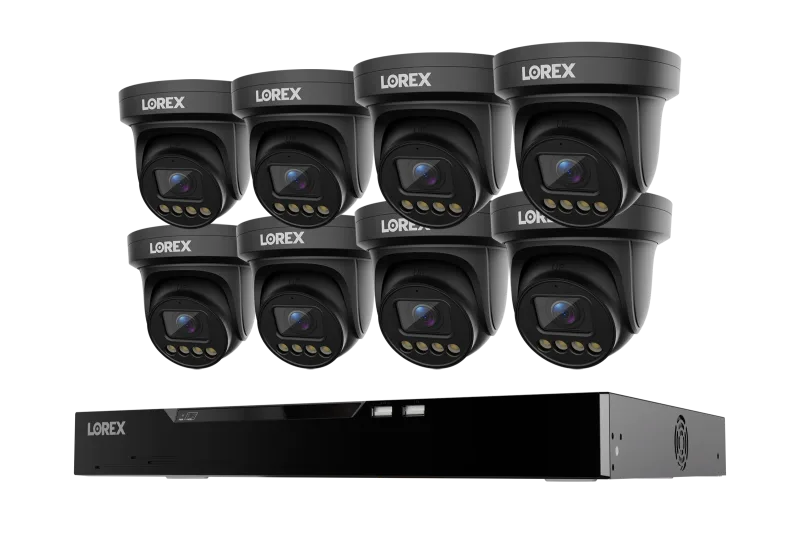
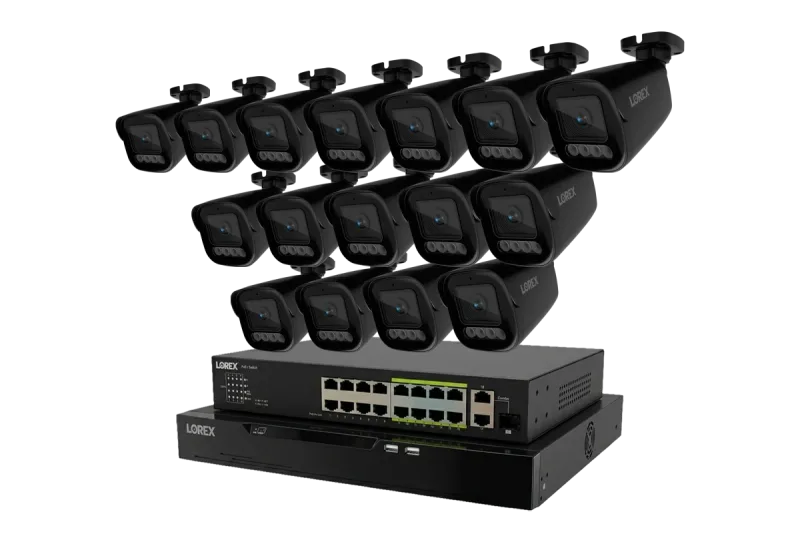
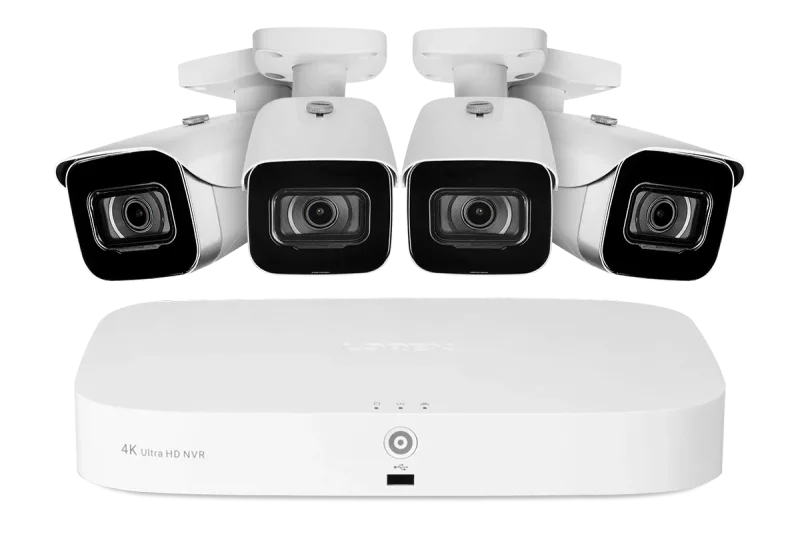
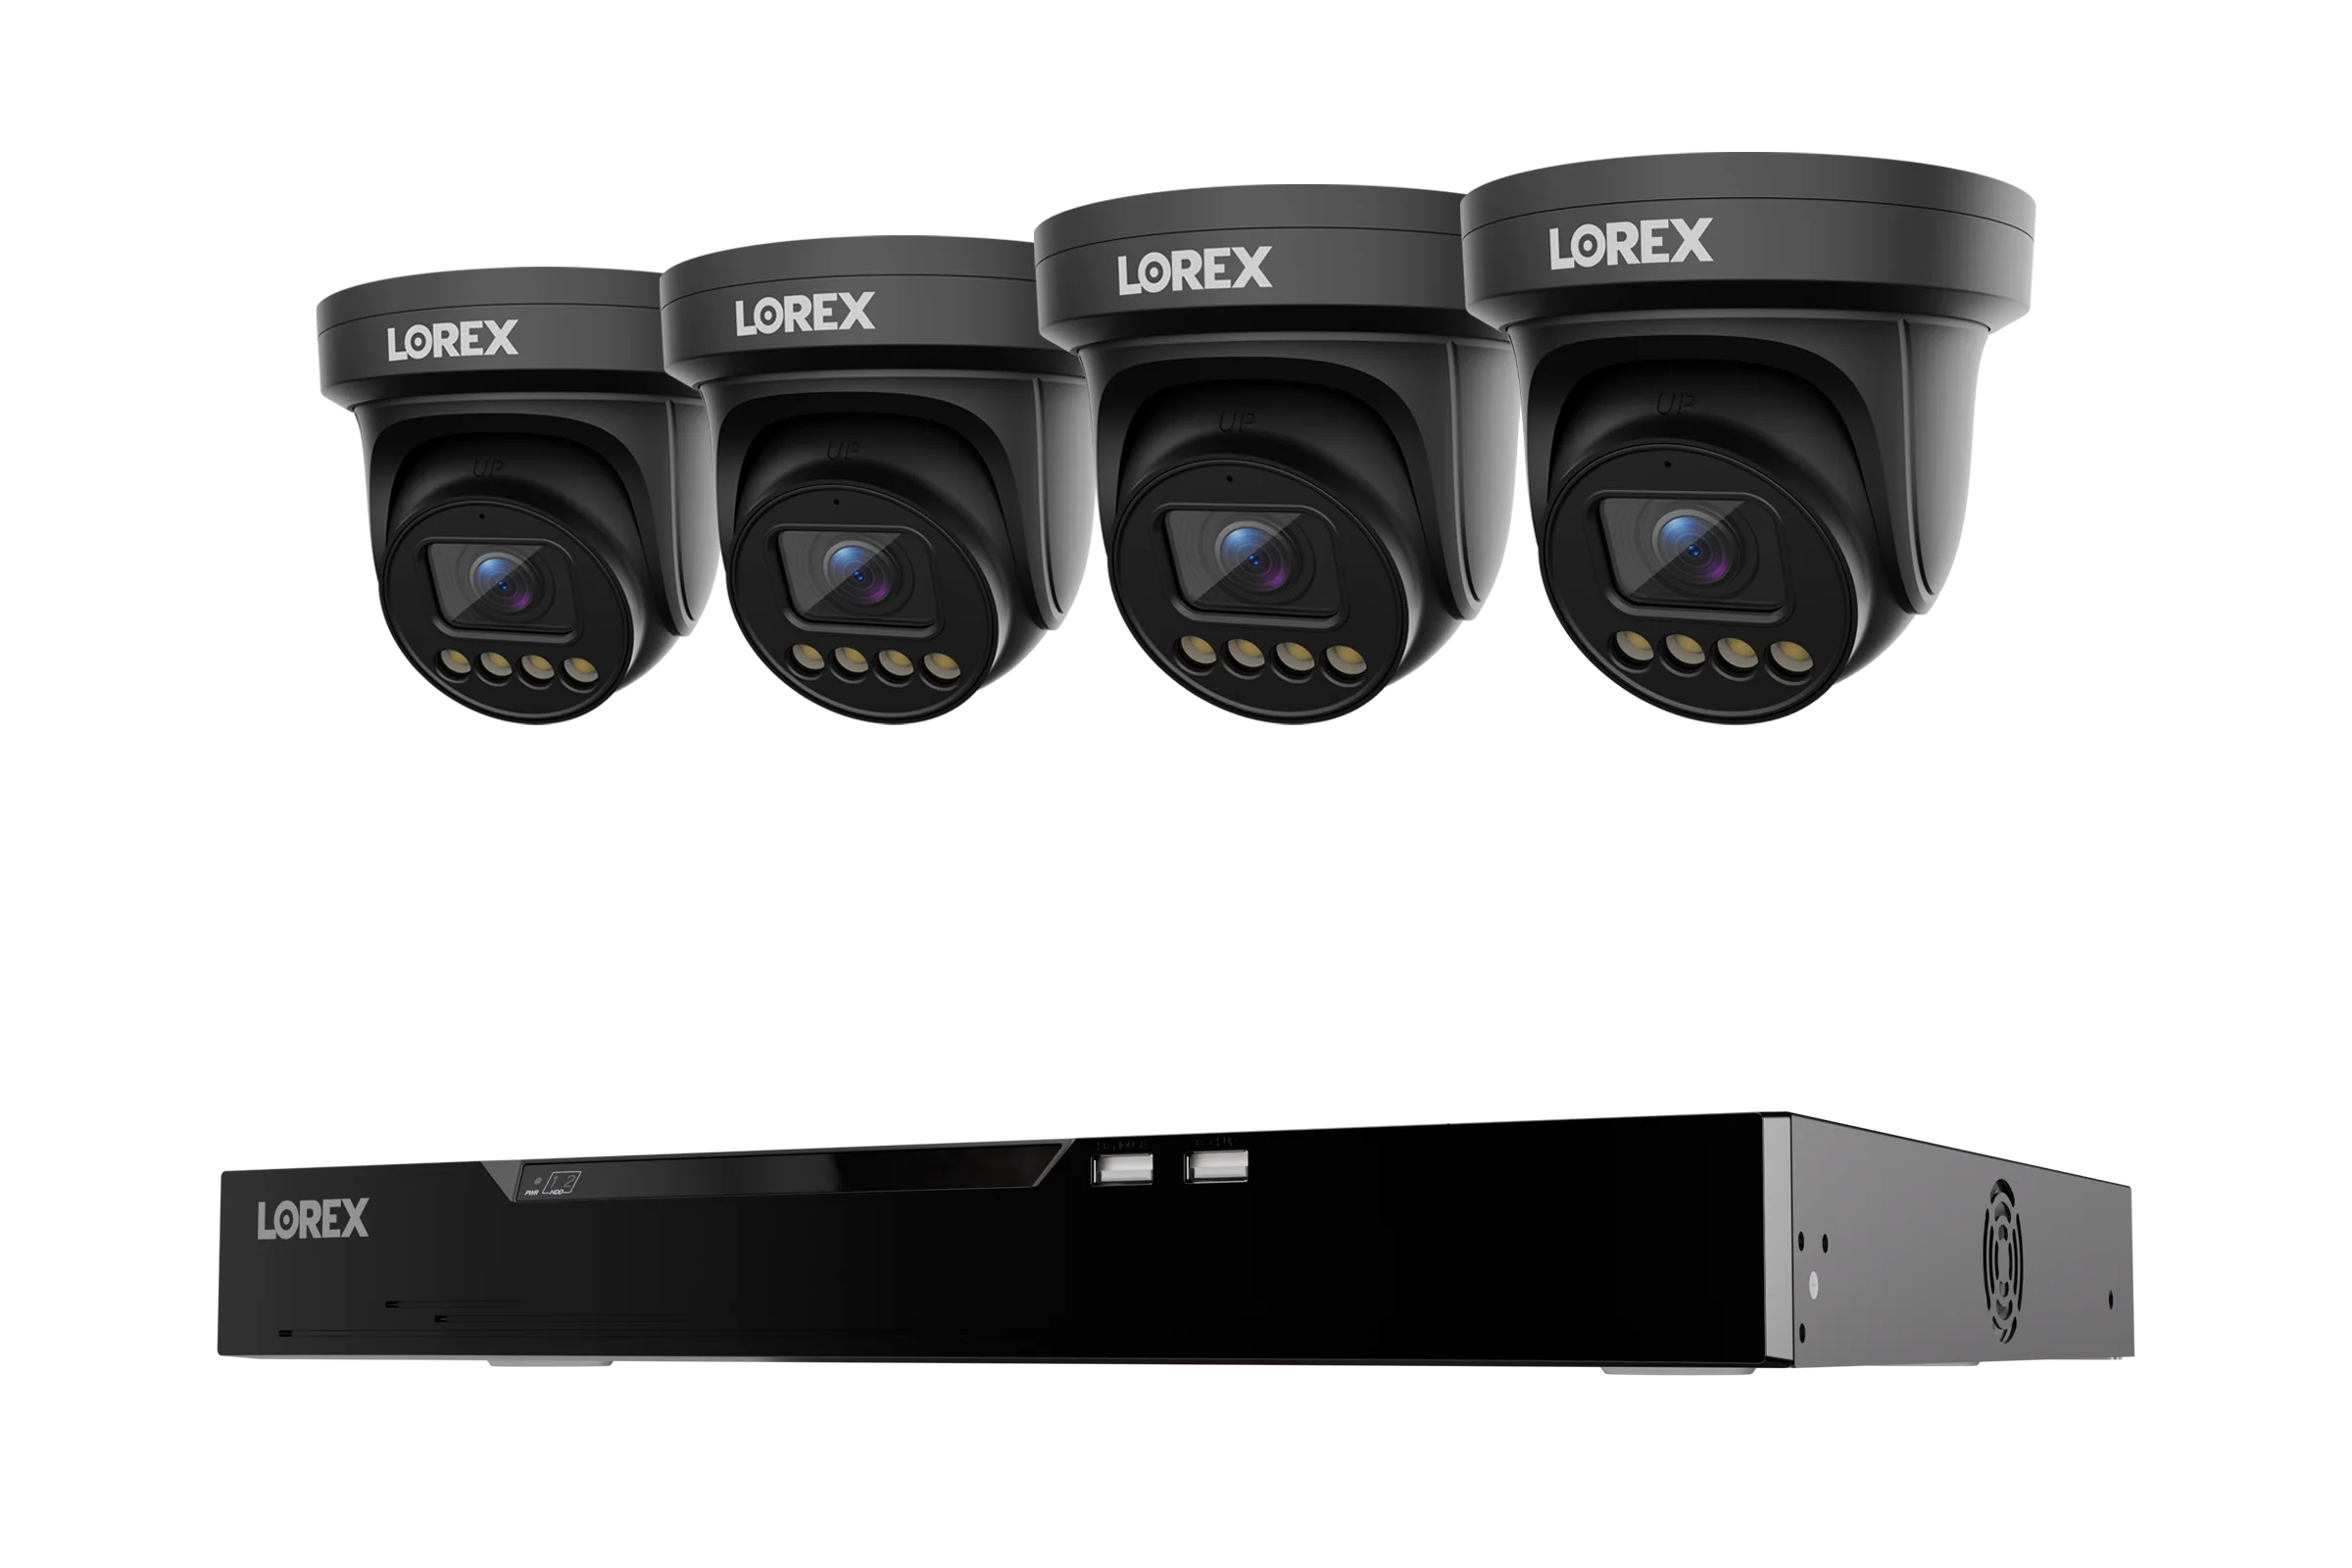
If you're starting fresh, a kit that bundles the recorder and cameras is usually the simplest path. The Lorex Connect X Series 4K 16-Channel Wired NVR System with X3 Turret Security Cameras - 4TB covers a typical home with room to expand, while the Lorex Connect V Series 4K 8-Channel Wired NVR System with V3 4K PoE Turret Cameras - 1TB suits smaller properties where eight channels is plenty.
Mounting and Placement
Placement matters more than camera count. Aim for coverage of entry points — front door, side gate, driveway, and any ground-floor windows — rather than trying to watch every square foot of the yard.
Choosing the right mount
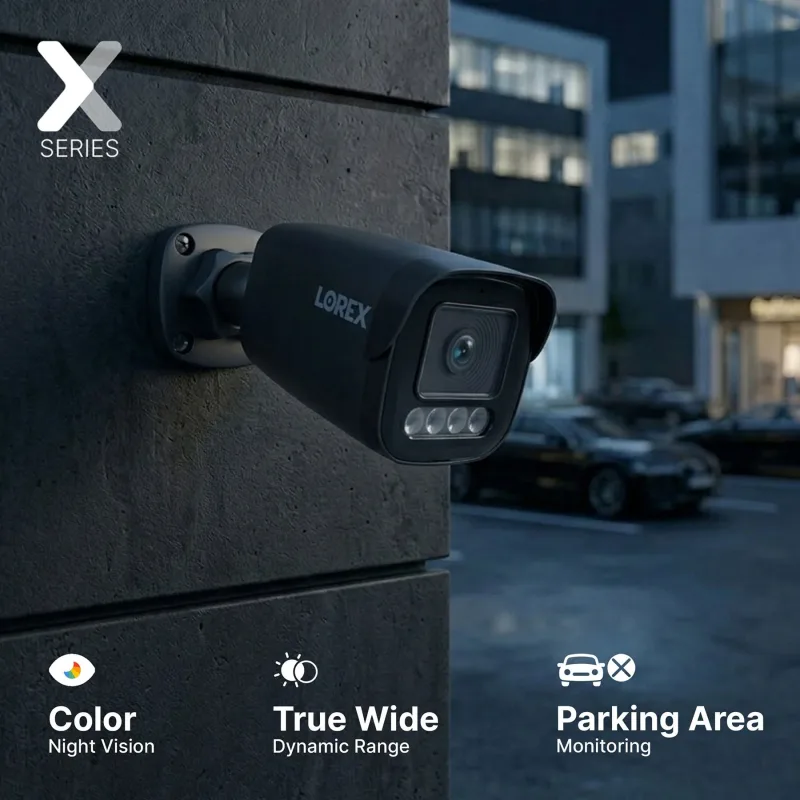
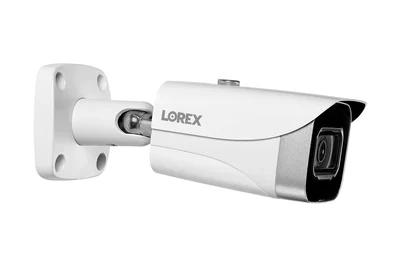
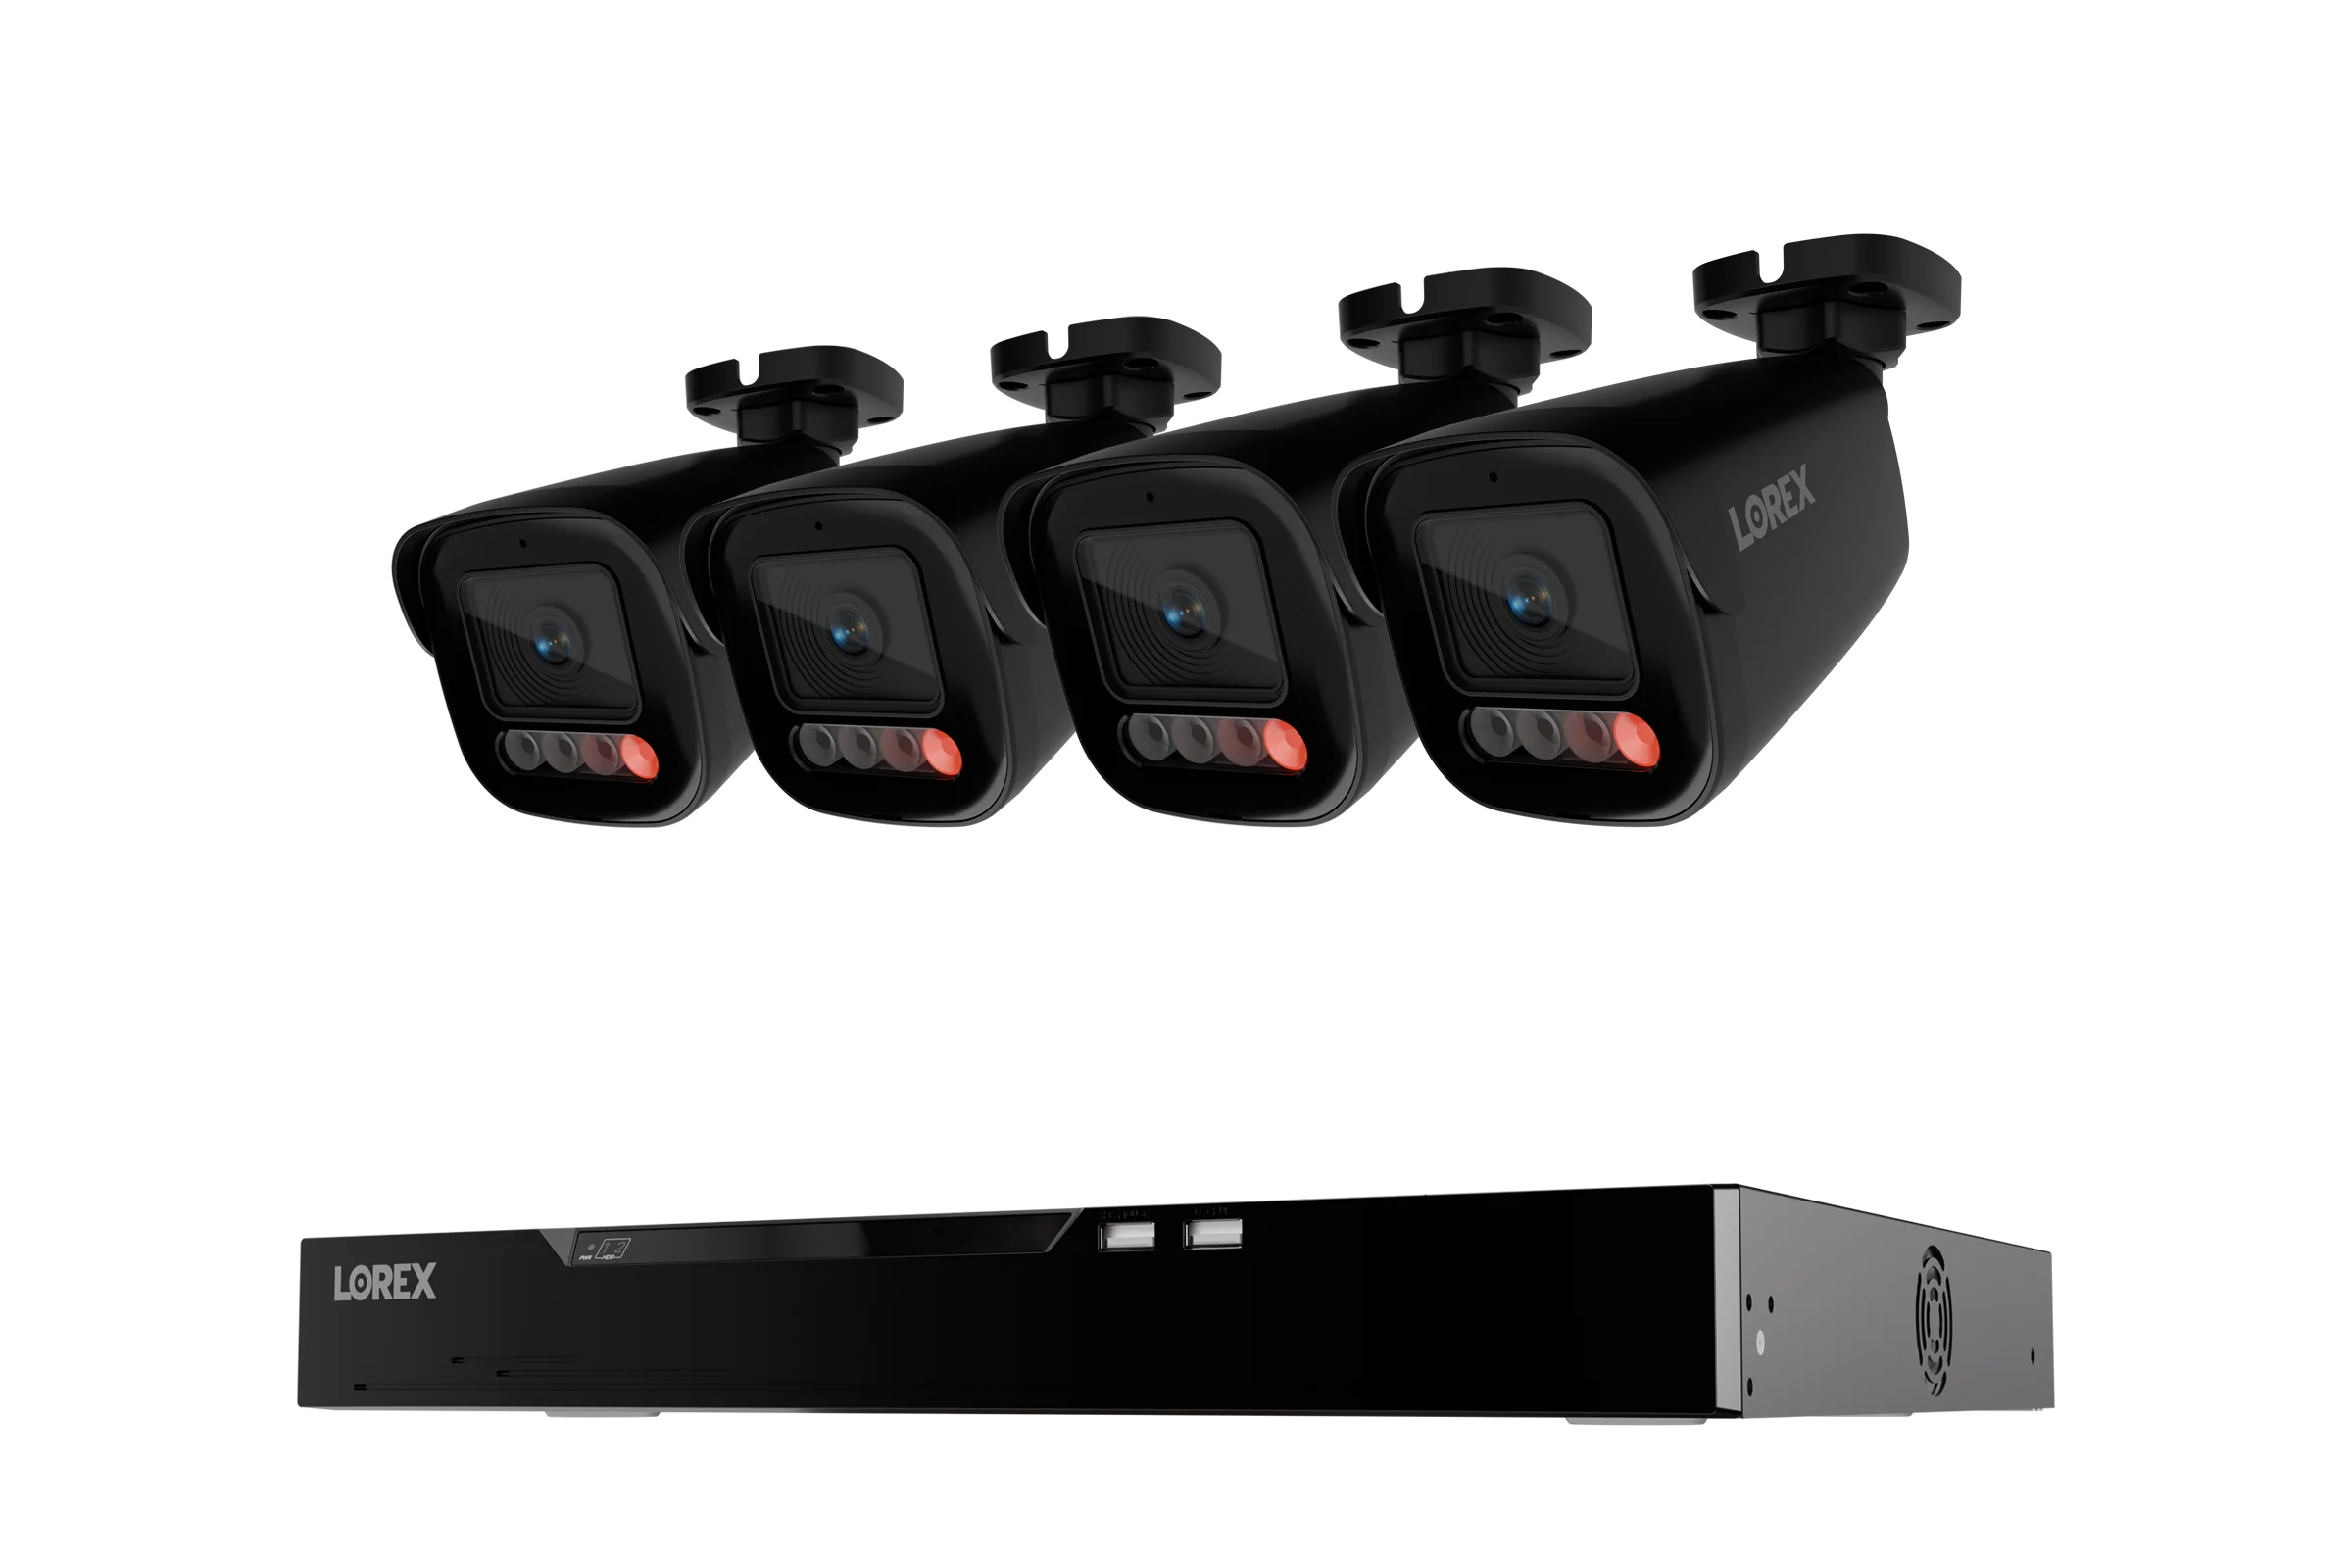
Turret cameras work well on walls and under eaves because the ball joint lets you angle the lens after mounting. Bullet cameras suit long, narrow views such as a driveway or side path. PTZ cameras need a clear field of view and a stable surface, since they pan and tilt continuously.
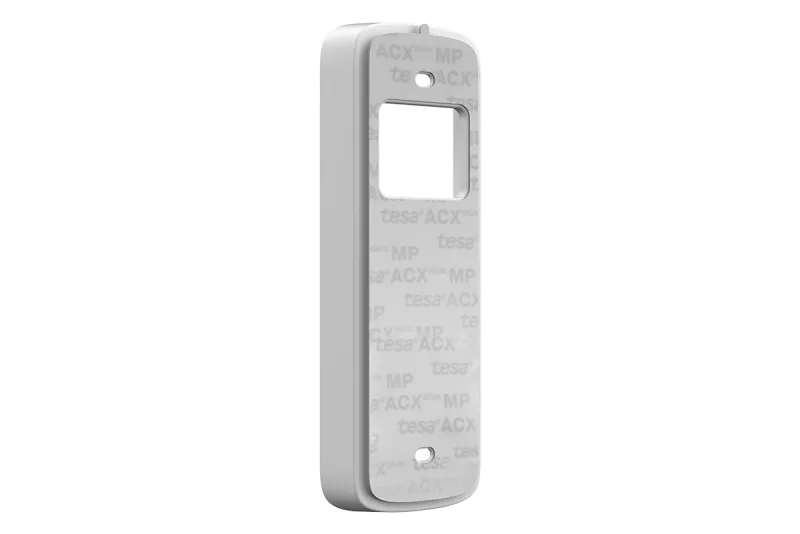
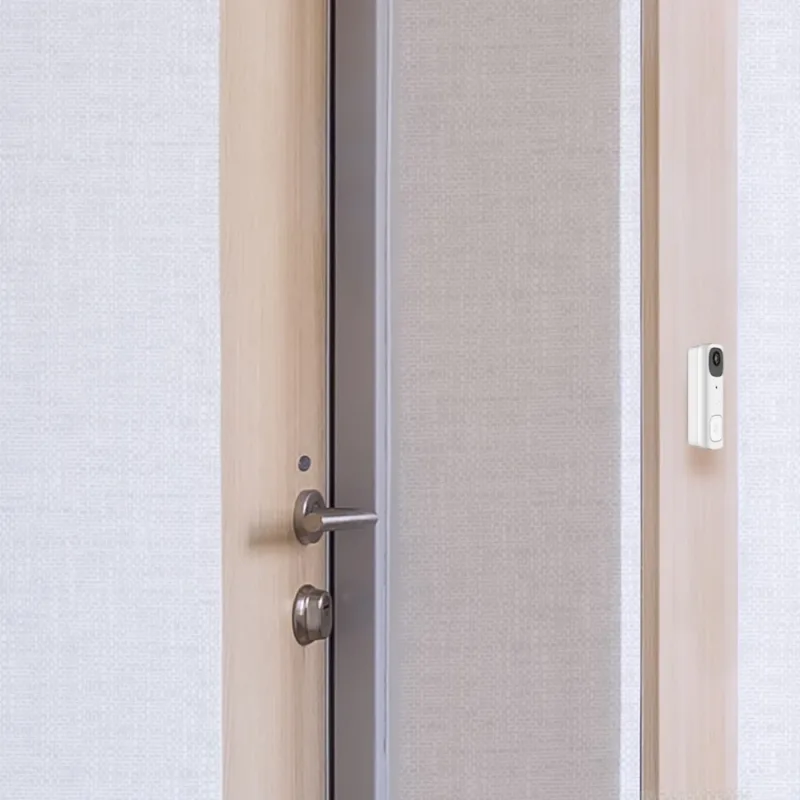
Corner mount brackets and junction boxes solve two common problems: getting the camera far enough from the wall to avoid infrared glare, and hiding the cable connection. A round junction box is a clean option for PTZ and fixed cameras where you want the wiring concealed. For doorbells, a no-drill adapter avoids putting new holes in brick or siding — the No Drill Mount Bracket for Lorex 2K Battery Doorbell (B463 Series) is designed for exactly that.
Height and angle
Mount cameras roughly 8 to 10 feet up. Lower and they're easy to tamper with; higher and you mostly capture the tops of heads. Angle the camera slightly downward so the field of view includes faces at the door rather than just the sky above the roofline.
Cabling and Power
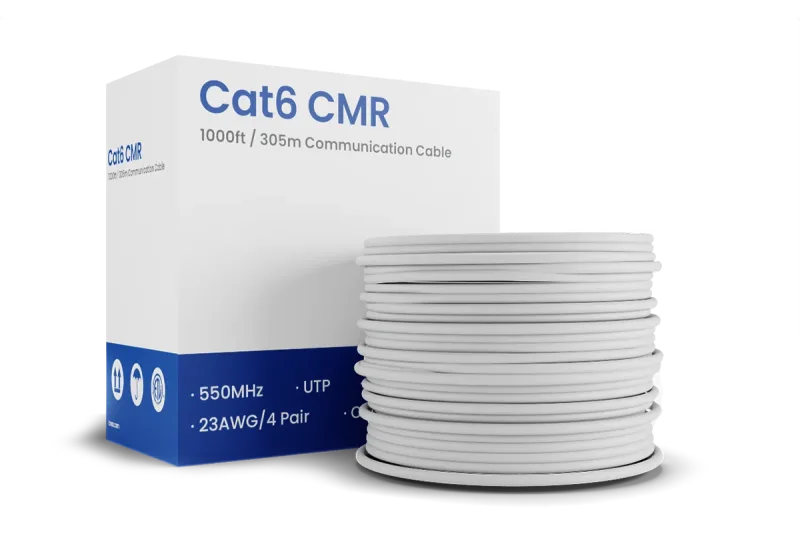
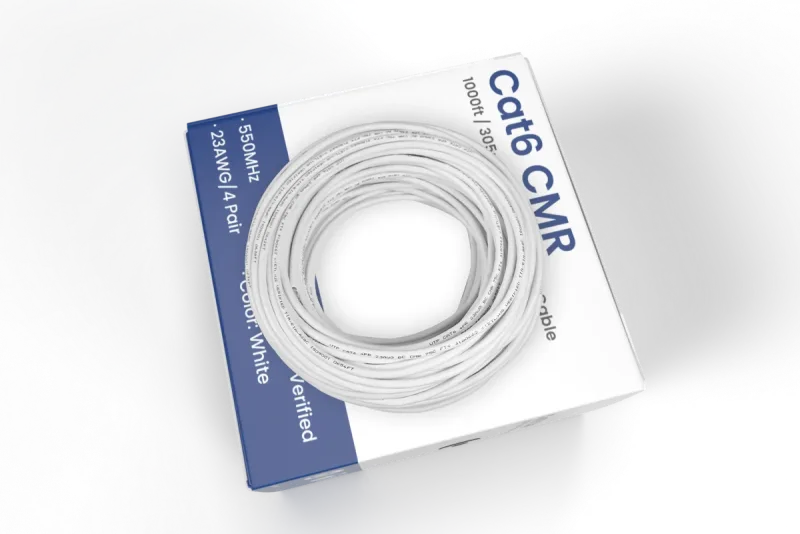
For IP and PoE systems, a single Cat6 run carries both power and video. That's the main advantage of PoE: no separate power outlet at each camera. A bulk spool is worth considering if you're wiring several locations at once — the 1,000ft Bulk Cat6 UTP Ethernet Cable, 23AWG CMR/FT4 for IP connectivity gives you enough length for a full perimeter run.
For older analog DVR systems, you'll typically use BNC video and power cables instead. Before installation, check the following:
- Cable length against the run distance — long analog runs can degrade signal quality.
- Whether the cable is rated for outdoor or in-wall use.
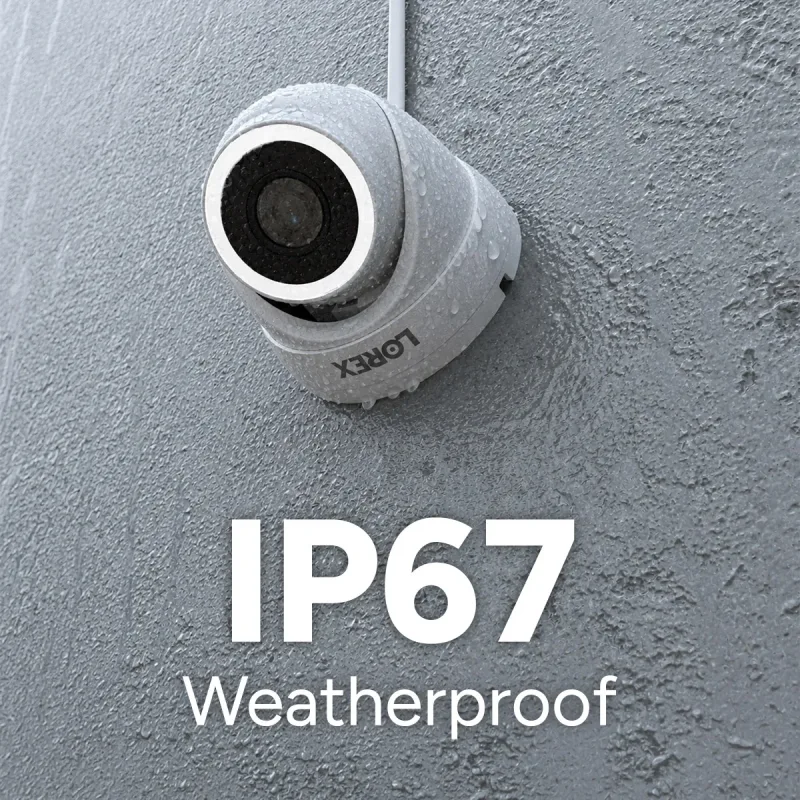
- That connectors are dry and protected, especially at exterior terminations.
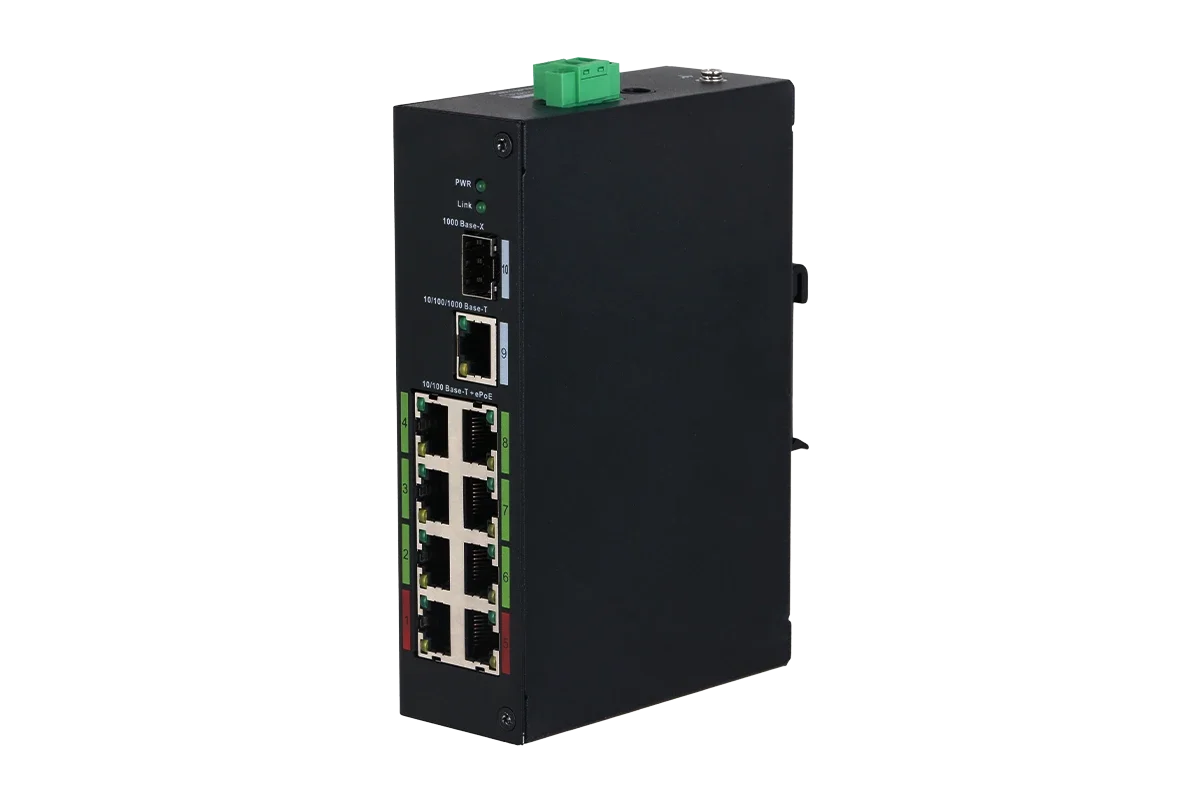
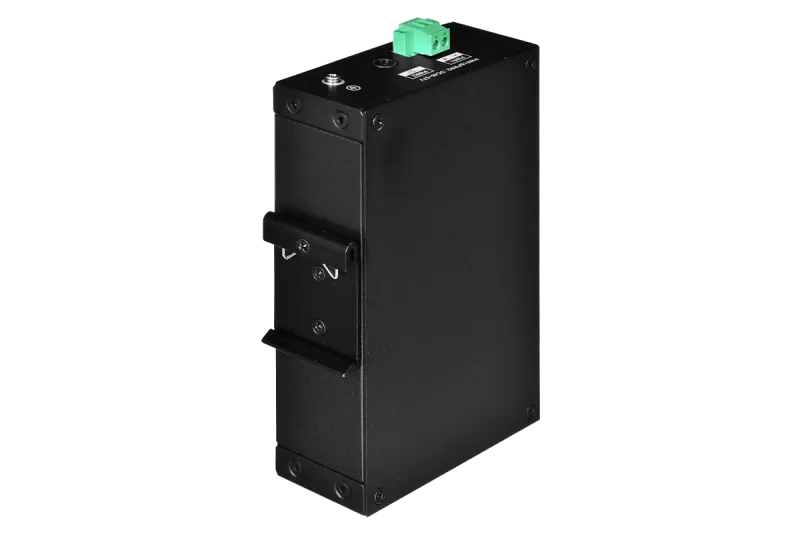
If you need to extend your network to reach distant cameras, an 8-Port ePoE Switch can push power over longer cable runs than standard PoE. For battery-powered doorbells, a Doorbell Power Adapter lets you keep the unit topped up without removing it to charge.
Storage and Recording
Your recorder's hard drive determines how far back you can search. A few rules of thumb help you size it correctly:
- Higher resolution and higher frame rates fill a drive faster.
- Continuous recording uses far more space than motion-triggered recording.
- More cameras means proportionally more storage for the same retention window.
Surveillance-grade drives are built for the constant write cycles that a recorder demands, so it's worth using one rather than a standard desktop drive. For Wi-Fi cameras and doorbells that record locally, a high-endurance microSD card is the equivalent choice.
If you plan to add cameras over time, buy headroom now. The Lorex Connect X Series 4K 32-Channel Wired NVR System with X3 Bullet Security Cameras - 8TB and the Lorex Fusion 4K 16-Camera Capable (8 Wired + 8 Wi-Fi) 2TB NVR System with 4 IP Bullet Cameras both offer expansion room, with the Fusion model letting you mix wired and wireless cameras on one recorder.
Quick Troubleshooting Checklist
Most setup issues come down to a short list of causes. Work through these before assuming hardware has failed.
- Camera not appearing in the app: confirm the cable is seated at both ends and the channel is enabled on the recorder.
- Wi-Fi doorbell or floodlight camera dropping offline: check signal strength at the mounting location and consider moving the router or adding a mesh node.
- Lightbulb camera not connecting: verify the fixture is powered and the bulb is fully seated before pairing.
- Night footage washed out or foggy: reposition the camera so the lens isn't reflecting off a nearby wall or soffit.
- Recording gaps: check drive health and confirm the recording schedule covers the hours you expect.
Take your time with placement and cabling, and the rest of the setup tends to fall into place. A well-planned Lorex NVR setup is one you rarely have to think about again — which is exactly the point.